If your dryer timer isn’t working, Mr. Appliance recommends these troubleshooting steps:
|
When a dryer is working properly, it usually runs for less than an hour and then stops. But if your dryer timer has failed, you might have to physically stop the cycle yourself to keep it from continuously running. Frustrating, right? It’s also potentially a fire hazard. Start by confirming the issue.
How to Tell If a Dryer Timer Is Bad
If your dryer timer is not turning off—or there are trouble signs and you’re unsure if the timer is at fault—there are ways to diagnose the problem.
Look for These Bad Dryer Timer Symptoms
-
The dryer timer keeps running after the time’s up. If your dryer continuously runs after the time is up, this points to a faulty dryer timer.
-
The dryer timer won’t advance. If you set your dryer for 30 minutes, come back 30 minutes later, and find the gauge still pointing to the starting point, your timer (or timer motor) is likely broken. The timer and timer motor are sold and installed as one unit, so the solution to either part failure is the same it’s time for a dryer timer replacement.
However, if these symptoms don’t confirm what the problem is. Keep investigating!
Learn How to Reset a Dryer Timer
Many dryer control panels have a Reset button. Sometimes the unit just needs a quick reset, and it’ll function properly again. Try a quick reset. If it doesn’t change anything for the better, move on to the next steps.
Rule Out Ventilation Issues
A faulty timer isn’t the only potential reason your dryer is running for too long. For example, an improperly installed ventilation system could cause your dryer to overwork.
Next, Do Some Testing
This is a complex process that can be handled more efficiently by an appliance repair expert. The following tools are required:
-
Bath towel
-
Phillips screwdriver
-
Needle-nose pliers
- Multimeter
Here’s how to test the dryer timer:
-
Disconnect the power cord, and turn off the power to the appliance from the electrical breaker box.
-
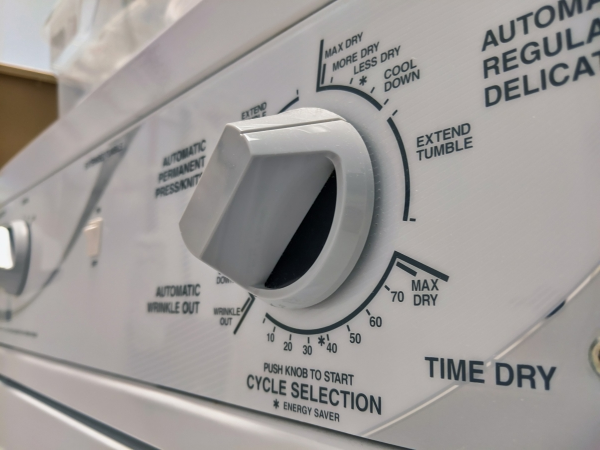
Locate the dryer timer. It’s usually on the top or bottom end of the front control panel and looks like a large dial with numbers on it.
-
Lay a towel down at the base of the control panel to prevent scratching. Then remove the control panel screws with a screwdriver, and set them aside. Raise the panel lid, and roll it to the back.
-
Using pliers, remove the power leads from the two largest wires. Pull the connector carefully so the wire is not damaged.
-
Raise the control panel, and turn the setting to “Normal” (or whatever cycle name is equivalent). A wiring diagram should be visible on the back of the unit or inside the control panel. This will show the correct ohms range.
-
Use the multimeter to measure ohms by dialing the appropriate settings, touching one probe to the terminal where the wire was removed, and touching the second probe to the timer contact. If the reading is between 2000 and 3000 ohms, the timer is likely working properly. If the reading is out of range, it’s time to replace the dryer timer.
Related Topic: How to Tell If Your Oven Is Accurate and Working Properly
The Timing Is Right to Call in the Pros
Major appliances, especially those you use consistently, eventually develop problems that affect their performance. And as you may have figured out, determining what the problem is, and how to fix it is not an easy task. Luckily there is a quicker, easier way to diagnose and fix a problem with your major appliance, call your local Mr. Appliance. We have the experience and expertise to efficiently diagnose and fix any problem with your appliance. Call us today or schedule an appointment online.