Samsung dryers are renowned for their energy efficiency and technology-based features. But one thing they are not known for is easy-to-decipher dryer error codes.
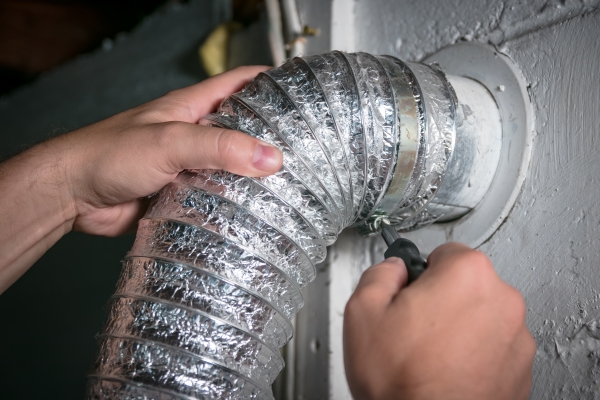
As long as your dryer continues to do its job, most homeowners don’t give much thought to the location of their dryer vent.

If you struggle with your microwave plate not turning around, don’t hurry to purchase a new microwave just yet. Sometimes a

It’s off-putting to grab a glass from the cupboard and find it’s cloudy and covered in smudges. You may set it aside t
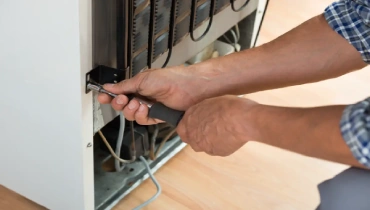
A refrigerator leaking water is an unfortunate but not uncommon event. A dirty defrost drain is the most common culprit because this important gadget controls frost and condensation.
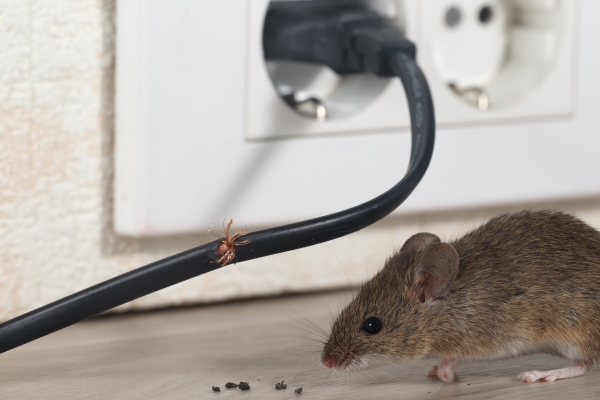
Wait, did you just hear a squeak coming out of the oven or the dryer vent? Can mice live in appliances? They absolutely can. Appli
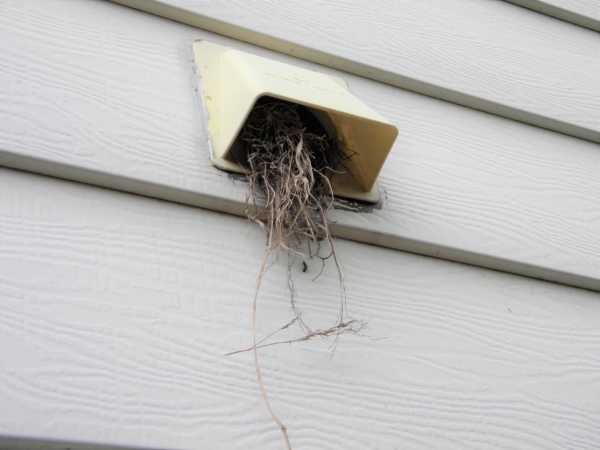
You know the old saying: Birds of a feather block dryer vents together. Maybe that’s not quite how it goes, but it’s t
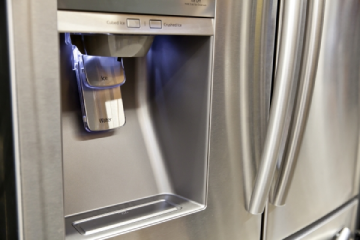
You press your water glass into your refrigerator dispenser...and get nothing. When water is not coming out of your refrigerator,

Opening your dryer and finding that a rogue writing utensil has gotten ink or melted crayon all over your warm, fluffy clothes and the inside of your dryer is both alarming and frustrating.
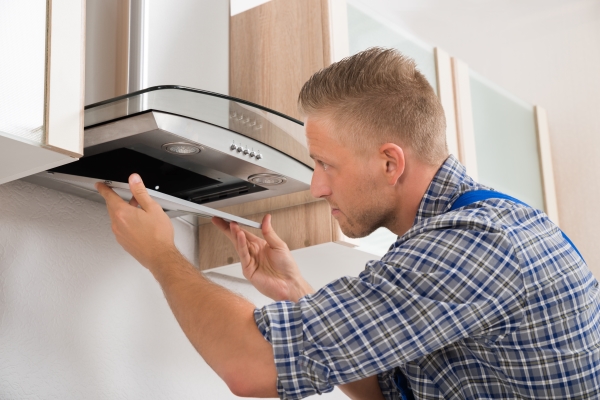
Your kitchen is one of the most utilized rooms in your home. You probably spend hours preparing dozens of meals and snacks in your
 Click to call